

We introduced the Ansible Director plugin as technical preview with orcharhino 7.9. With the Ansible Director plugin, you can version control Ansible collections, assign Ansible roles to hosts, and configure your hosts with your Ansible content through Ansible Execution Environments.
This blog article shows you how to get started. It’s a short and concise basic usage guide. If you want to look at the full documentation including API examples, go to Ansible Director on docs.orcharhino.com. Each section also links to the appropriate section in the documentation.
Before you follow this basic usage guide, ensure that you have access to your orcharhino and access to a host running Debian 13 that is registered to orcharhino. As a first step, install the Ansible Director plugin on your orcharhino Server in your staging environment:
# orcharhino-installer --enable-foreman-plugin-ansible-director --enable-foreman-proxy-plugin-ansible-directorRelevant docs: Install the Ansible Director plugin on orcharhino Server
Import content
You can import content from Ansible Galaxy and Git repositories.
Go to Ansible > Content and click Import Ansible content.
- Select Git
- Identifier:
manala.roles - Repository URL:
https://github.com/manala/ansible-roles.git - References:
5.5.0(and click + to limit the import to this reference)
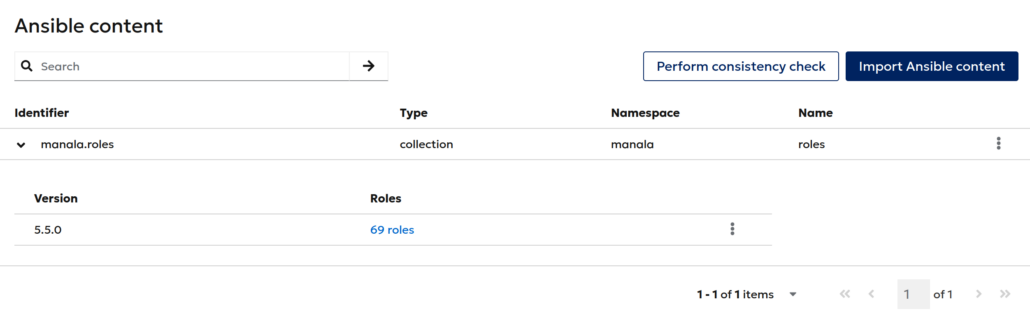
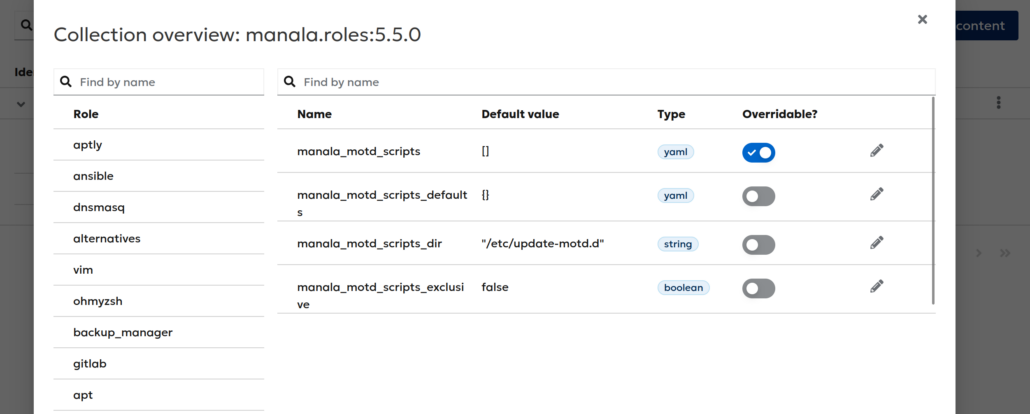
Click on 69 roles. For the Ansible role motd, toggle Overridable for manala_motd_scripts.
Relevant docs: Import and manage Ansible content
Build an Execution Environment
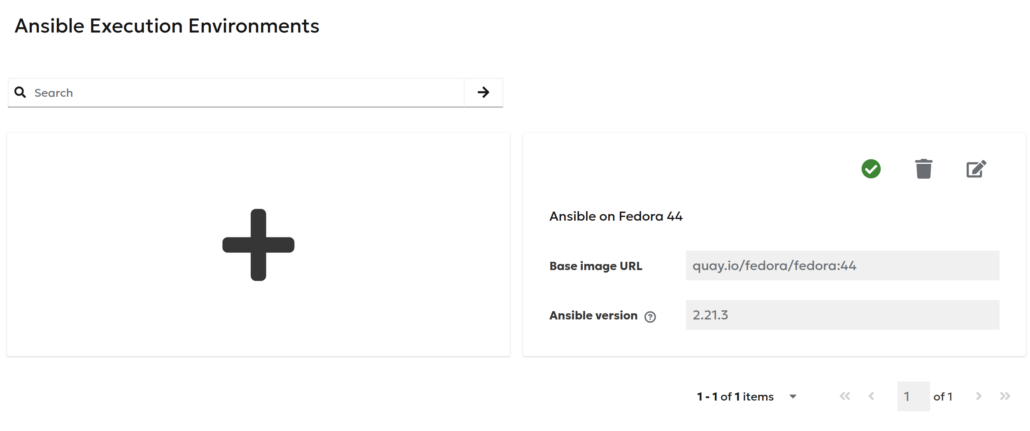
Create a container image with Ansible and Python installed.
Go to Ansible > Execution Environment and click the gigantic plus sign.
- Container image:
quay.io/fedora/fedora:44 - Ansible:
2.21.3
Relevant docs: Build and manage Ansible Execution Environments
Version control your Ansible content
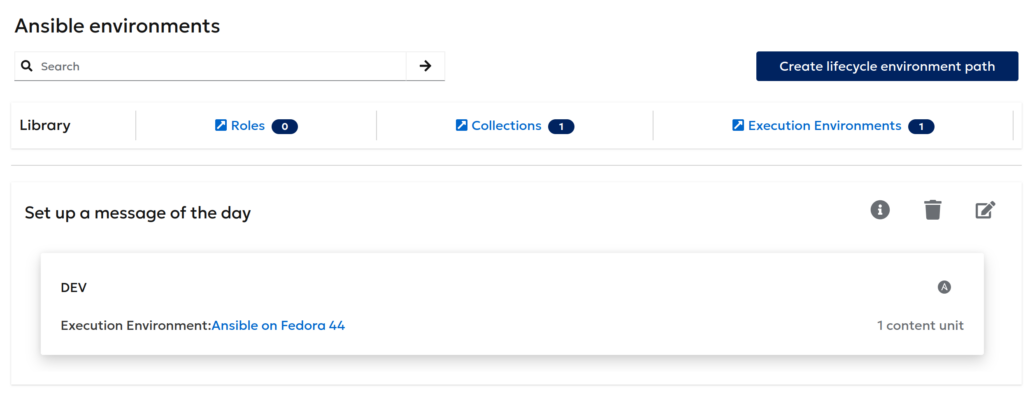
You can stage Ansible content in lifecycle environments similar to software for hosts.
Go to Ansible > Environments and click Create lifecycle environment path. Click Create lifecycle environment.
Next to Execution Environment click None and select your previously built Ansible Execution Environment. Next to Content units, click the Ansible icon and select your previously imported Ansible content.
Relevant docs: Manage Ansible environments
Assign an Ansible environment to your host
You can assign the previously created Ansible lifecycle environment that is inside your Ansible lifecycle environment path to a host.
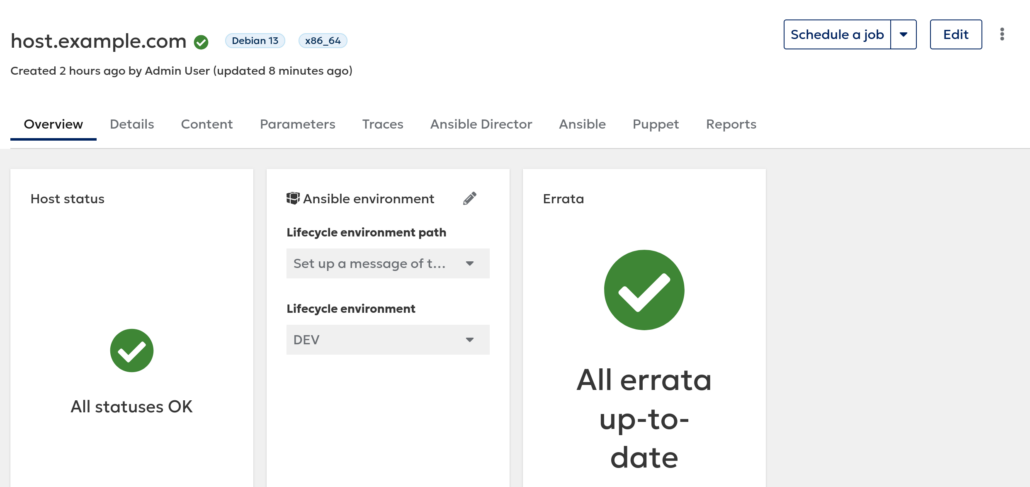
Go to Hosts > All Hosts and select your host. On the Overview tab in the Ansible environment card, select your previously created Ansible lifecycle environment path and Ansible lifecycle environment. This assignment ensures that your host receives version controlled Ansible content.
Relevant docs: Assign an Ansible environment to a host by using orcharhino management UI
Assign Ansible roles to your host
Your host is part of an Ansible environment. For each host or host group, you can select Ansible roles.
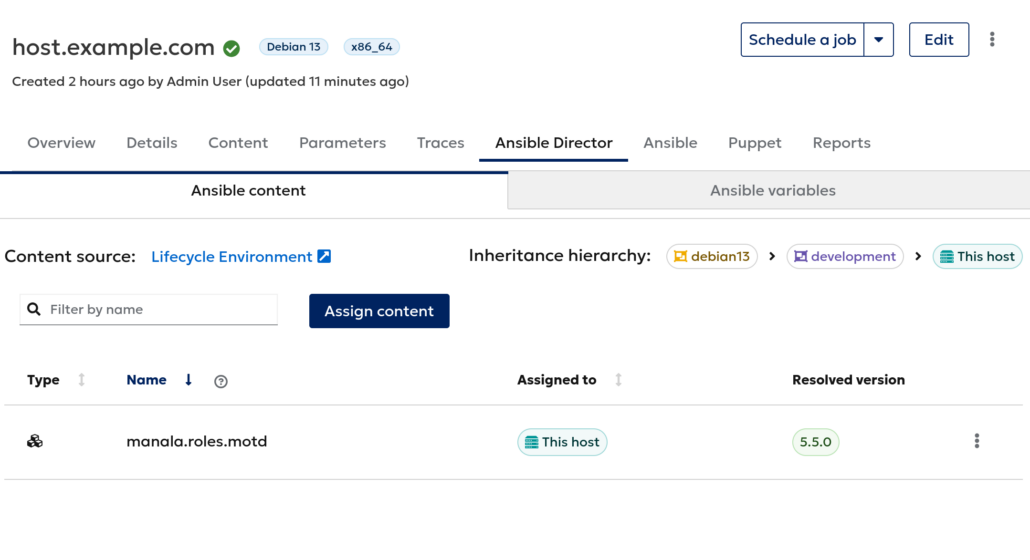
Go to Hosts > All Hosts and select your host. On the Ansible Director tab, click Assign content. Under manala.roles select motd and click Confirm.
Relevant docs: Assign Ansible roles to a host by using orcharhino management UI
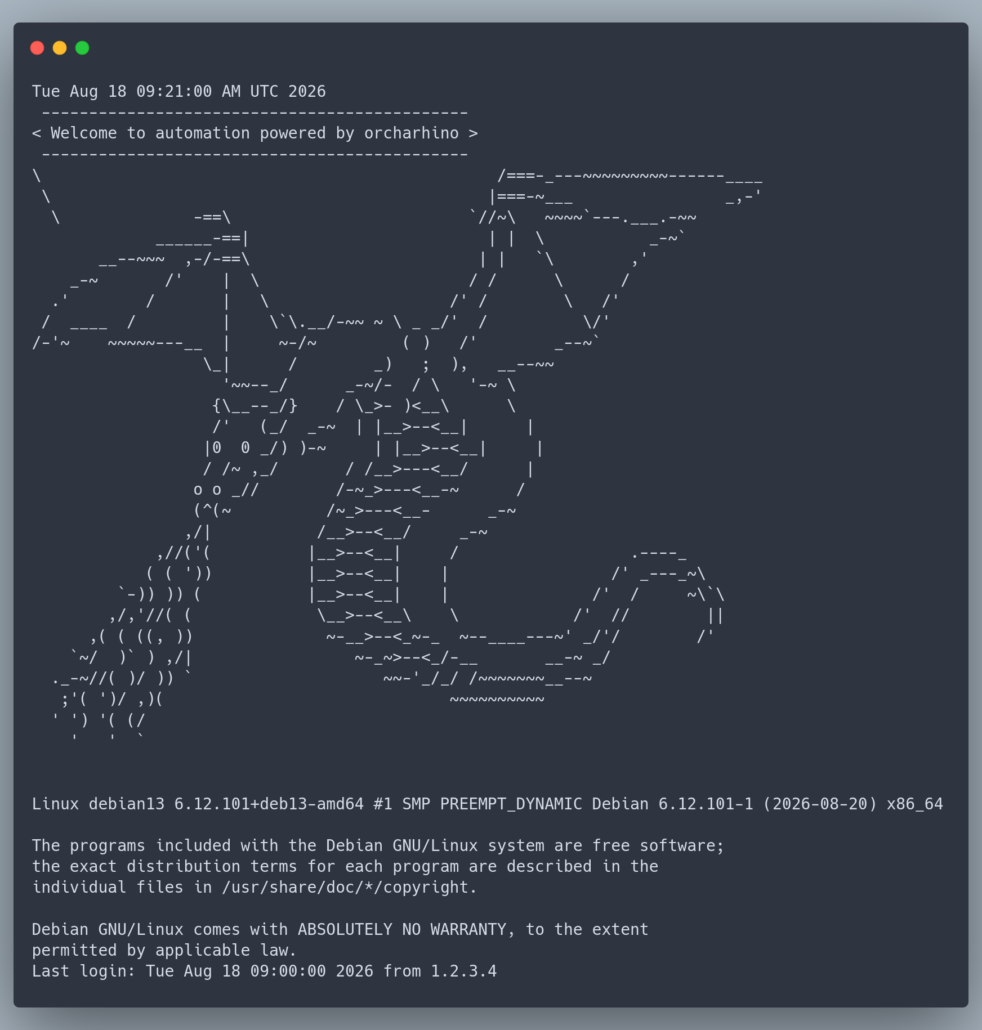
Set up a custom message of the day on your host
Use Ansible Director to configure your host: independent of Ansible on your orcharhino Proxies and with version controlled content.
Go to Hosts > All Hosts and select your host. On the Ansible Director tab, select the Ansible variables tab. Edit the manala_motd_scripts variable and provide the following content:
- template: scripts/uname.j2
- file: 30-template
  template: scripts/dragon.j2
  message: Welcome to automation powered by orcharhino
You can find more details about possible predefined scripts and messages on github.com: motd configuration example.
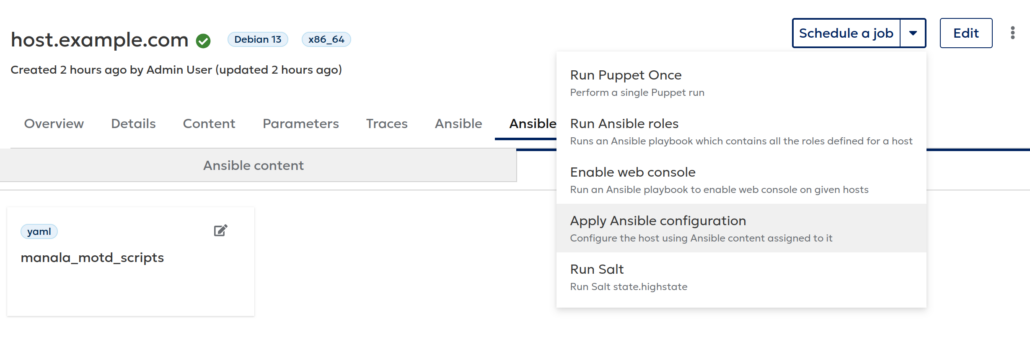
From the Schedule a job menu, click Apply Ansible configuration.
On the Overview tab, in the Recent jobs card, on the Running tab, select the started job.
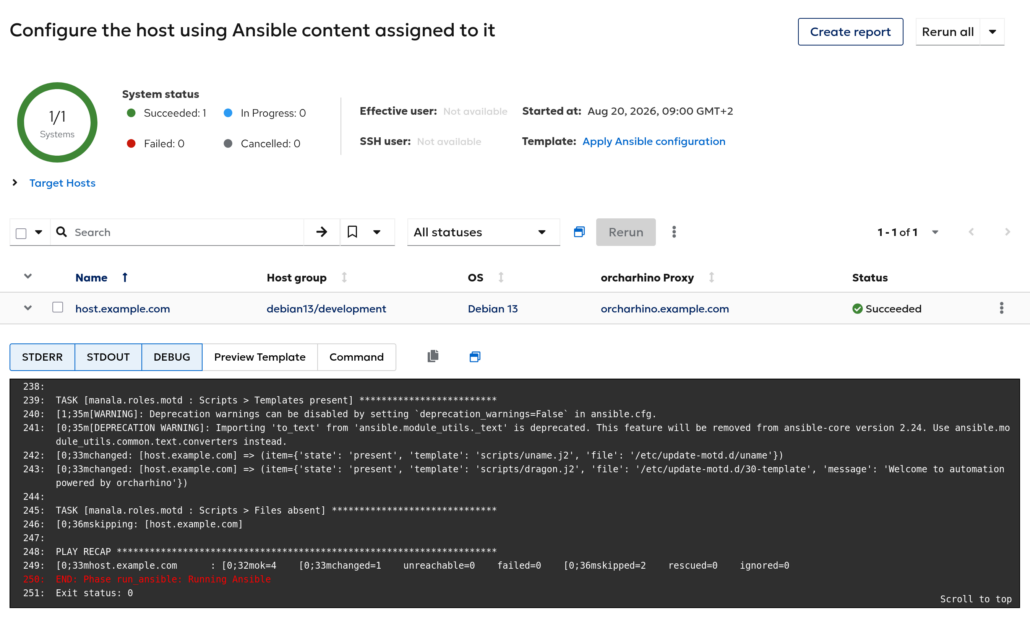
After Ansible has configured your host, you can log in to your host using SSH to view the message of the day: ssh user@host.example.com.
Relevant docs: Apply Ansible-based configuration to a host by using orcharhino management UI
What’s next
We are actively working on improved Ansible variable management. If you try out the plugin, please let us know how it works for you. If you identify any issues or missing features, please describe your use case in anonymized form on the orcharhino Customer Community or through a ticket with ATIX Support.
More information about Ansible Director
